|

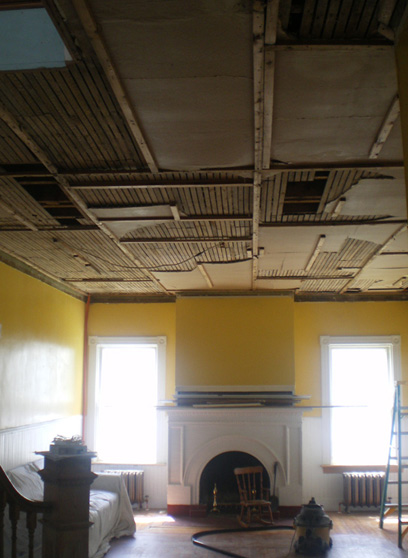
The Living Room Ceiling
Shown is ceiling #2 after the acoustic tiling and flourescent lights were taken down
|
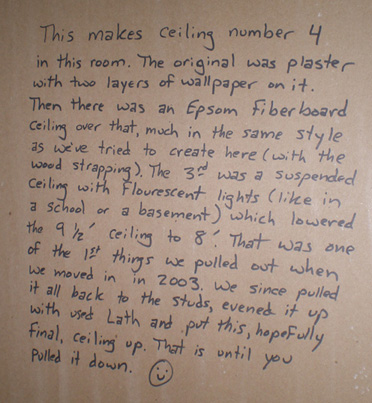
So the first thing to do was pull down that AWFUL ceiling which exposed another awful ceiling (due
to water damage) which I pulled down which exposed the original plaster ceiling (in even worse shape)
with its original layer of "ceiling paper" on it. Don't worry, I saved some. I decided to take this
time to get the ceiling wired for electric. The florescent lights which we first found here were wired
between the wood paneling and plaster, nothing very permanent. I also put this room on its own circuit
as the whole house seemed to be run on one knob and tube circuit.
| 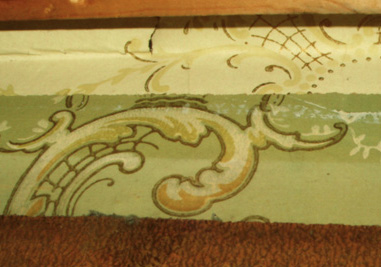
The green is the wallpaper
The tan is the ceilingpaper
|
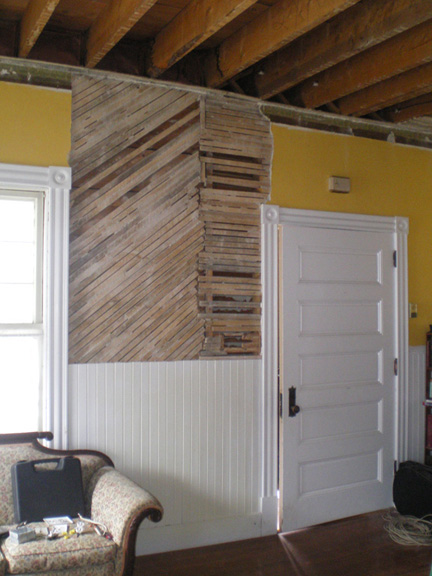
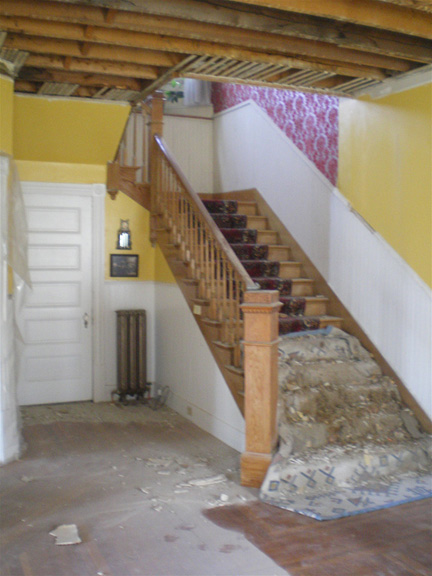
Shown is ceiling #1 after the fiberboard from the 20s was pulled down
showing the strapping, the missing plaster and lathe

I hope this mouse nest has been empty for a long, long time
We pulled the ceiling back to the floor joists
and removed the badly damaged plaster off the wall
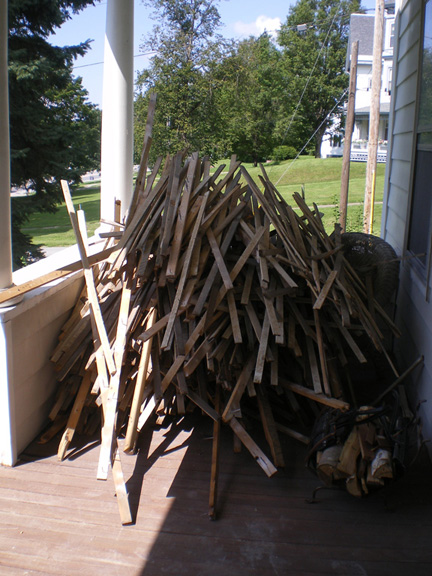
One load of lathe from the living room ceiling
Pulling down the plaster was the WORST job. I can taste it still.
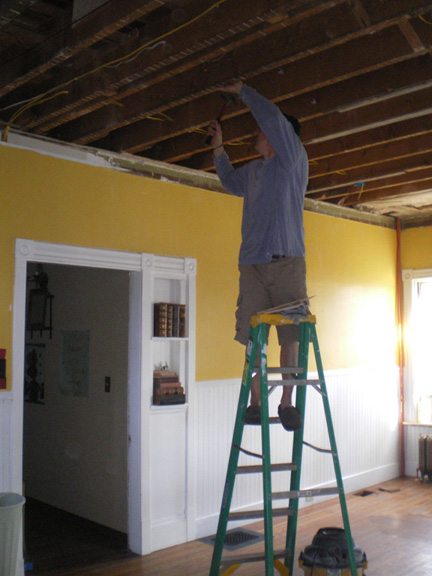
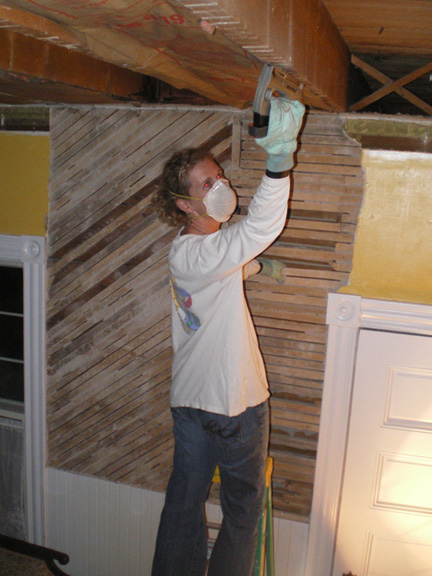
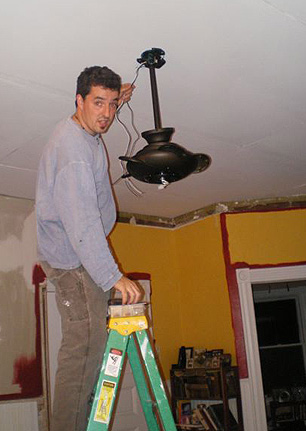
Running the new electrical for the track lighting and ceiling fan
These are hidden all over the house
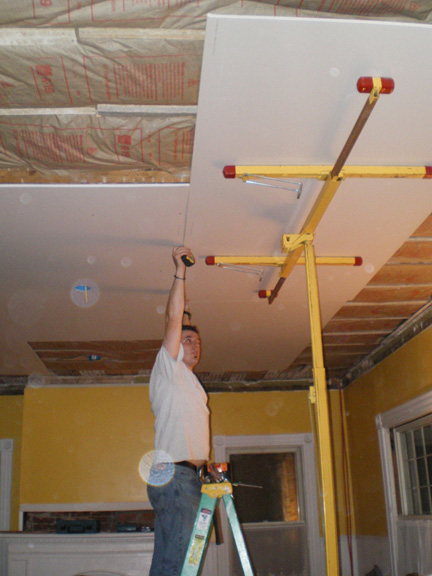
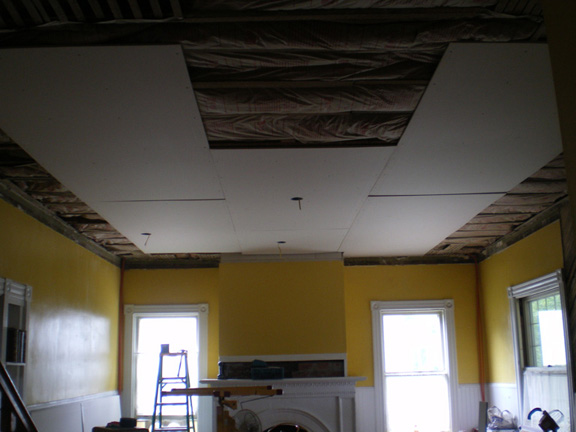
The sheetrock lift is the best tool ever made...
so is the Ab-Master. Staggering the panels.
Insulating, partly for sound, partly to keep the heat in the living room.
Got the easiest panels up first ;-)
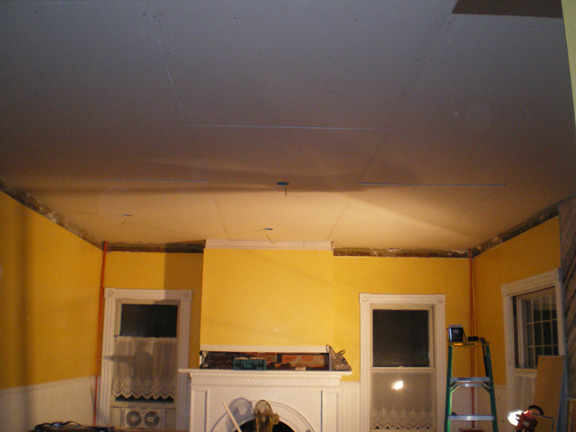
Ready for the walls and floors!
|
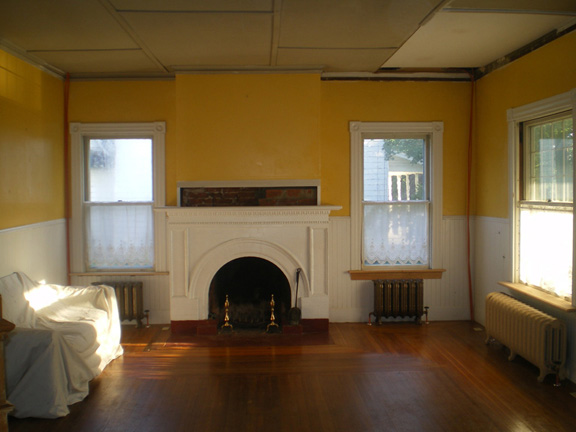
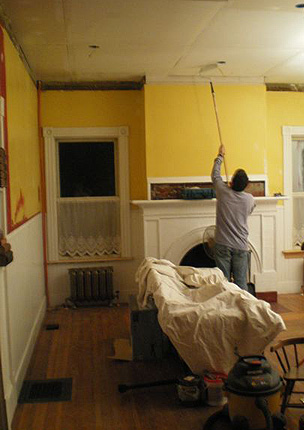
The walls underneath the paneling were painted a pale green, as was the wainscoting. We toyed with the
idea of yellow (as you can see), must have been inspired by a trip to Nicaragua. Not exactly our thing
so Bethany picked a shade of deep red. Much better. The ceiling fan is big enough to power a prop plane,
got it from Home Depot. Oddly enough I discovered that this same ceiling fan hangs above the bar in our
favorite local establishment, One Federal here in St. Albans.
|
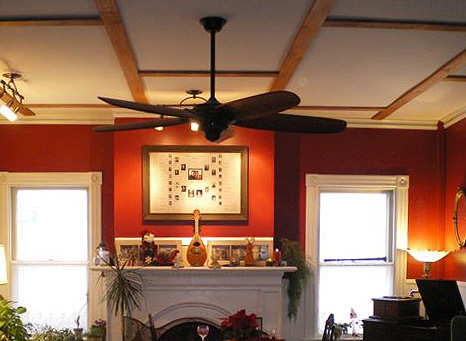
All Done


|
|