|


After stripping off the aluminum...
|
... and then the paint.
|
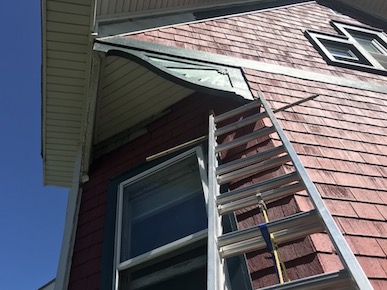
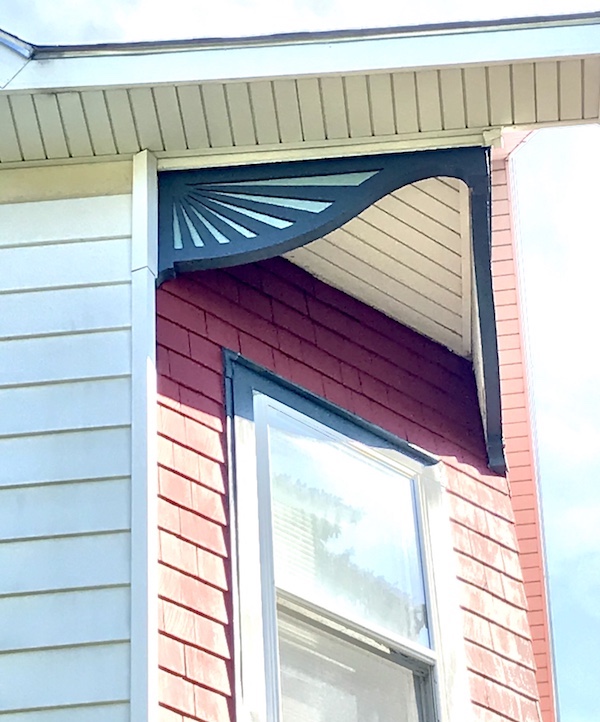
It's sort of ridiculous, isn't it? The Chamfered Corner Projecting Eave Decorative Brackets? It's quite cumbersome. But really, there just seems to be no singular term for these mirrored (not matching) brackets that adorn these chamfered corners (a chamfered corner is when two 45 degree angles are made getting rid of the sharp 90 degree angle) that follow the projecting eave over the chamfer. Some call them cornice brackets and some call them corbels, but if you do a web search for any of these terms I guarantee, at least as of 2020, that no images of these types of adornment will appear.
My hope, in listing all these possibilities here, is that some one will do a search for one of these many terms and that will lead them here so that we can begin a discussion. In lieu of all that I'm just going to make up a name for them myself; Queen Anne Exigent Brackets, or just simply exigent brackets. Why exigent? exigent meaning: 1. needing urgent attention, or demanding too much from other people. I think that sums these up perfectly.
I created a page devoted to the exigent bracket as they appear on homes around St. Albans. Check it out.
|

|
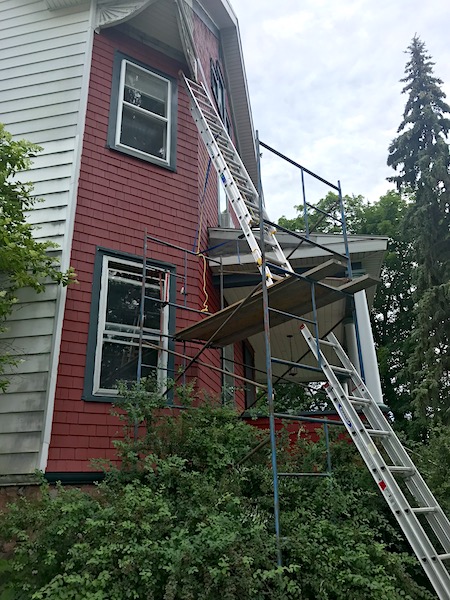
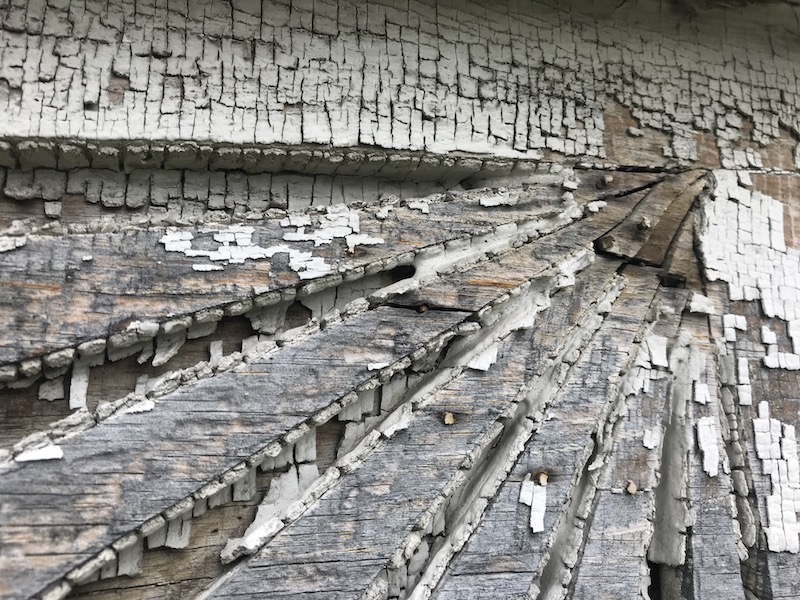
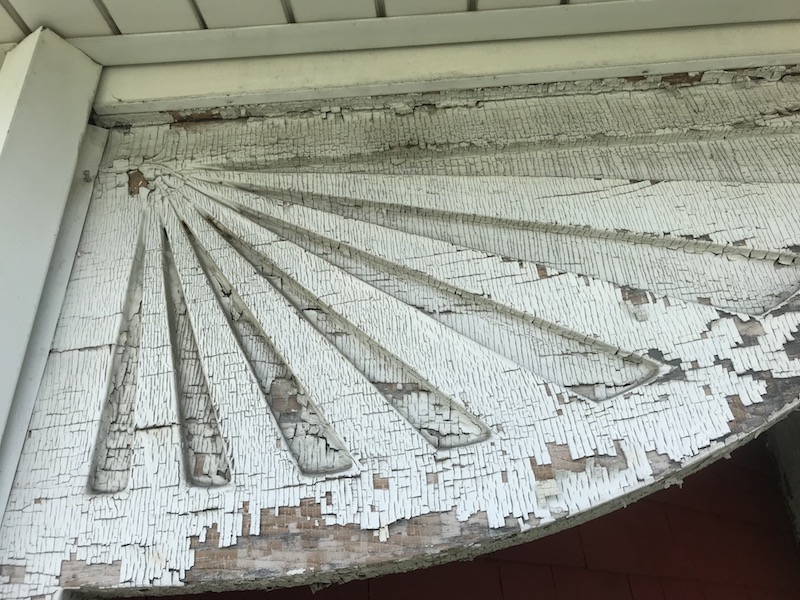
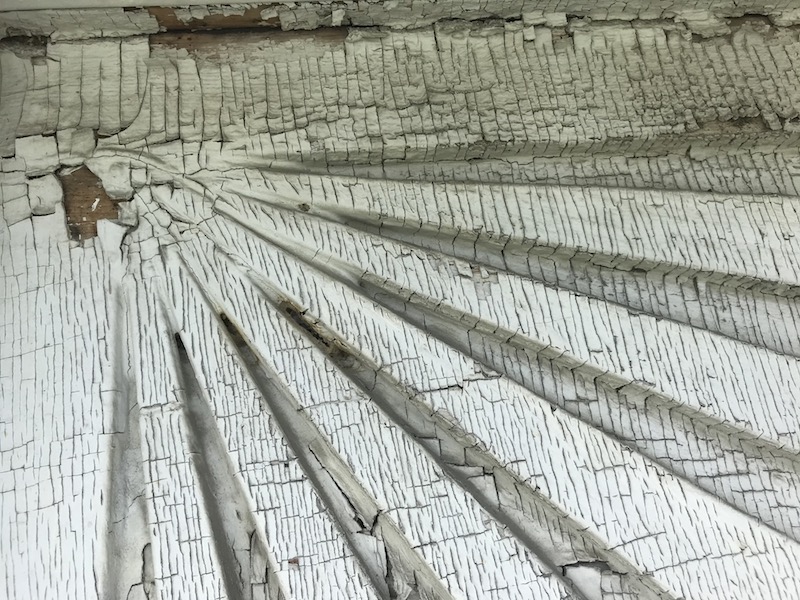
First a couple of things. Yes, this poor bracket looks abused. It was abused by rain, wind, sun, and extreme neglect. In the 17 years that we've lived here leading up to this work... I never touched it. I probably looked at it a couple of times a year and scratched my head trying to figure out what I was going to do. The thing is just so ridiculous to get to. The ground slopes away immediately from the house rendering my 24 foot ladder useless. Renting a lift just for this seemed excessive and, if I'm being honest, it looked like this when we first bought the place so I figured it really wasn't going anywhere. I want to slap myself just for thinking those words.
|
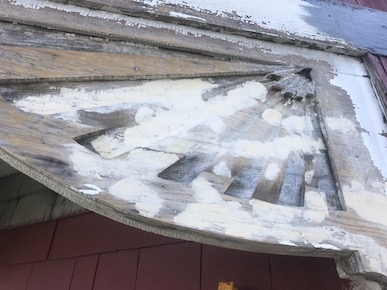
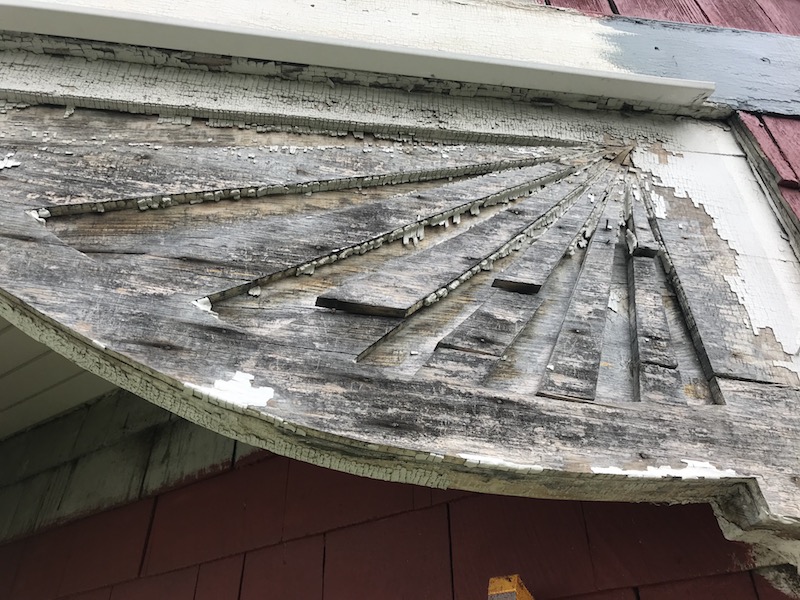
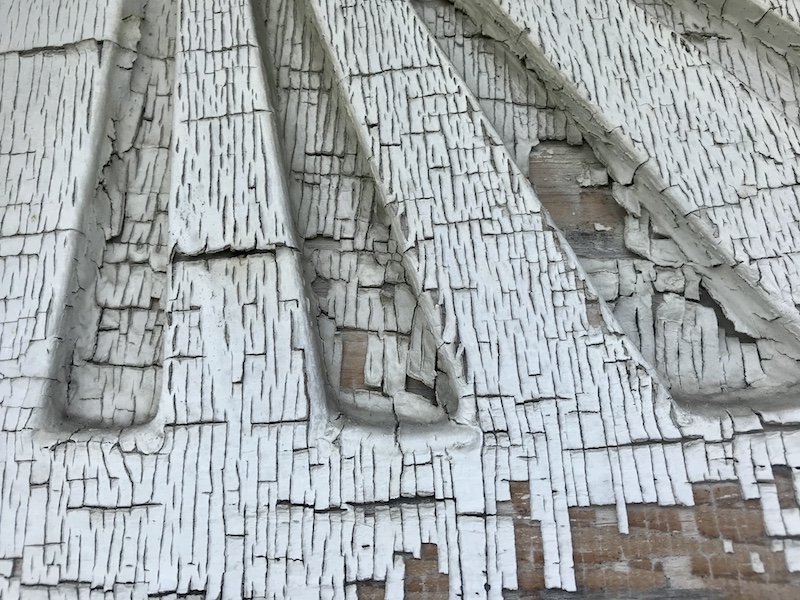
You can see the bandsaw trail that clearly shows how the craftsman constructed this overlay.
The detail is amazing. You can also see the years and years of lead paint that was thrown at this thing.
|
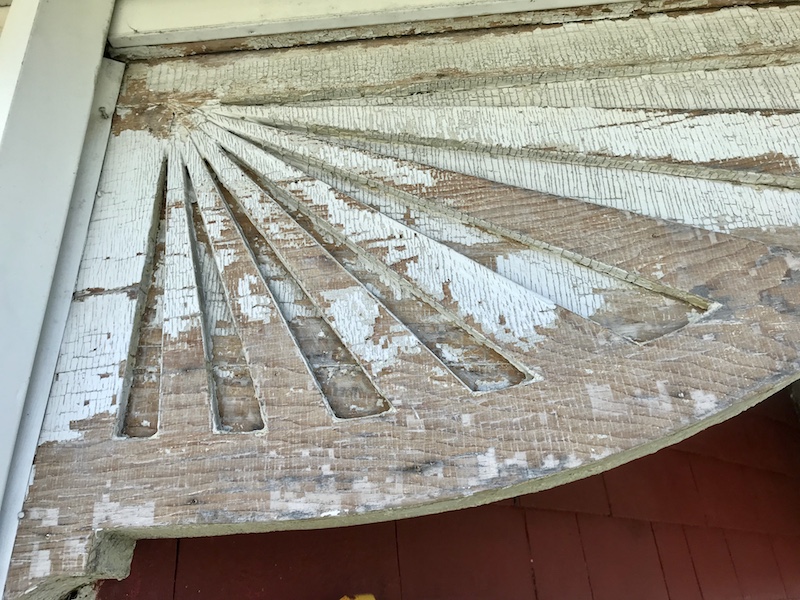
For years I thought the design of this bracket was made as a plywood overlay onto a solid board. One can clearly see the overlay line from the ground. And I was right about half of it, it is an intricately cut overlay, but it's cut from a solid sheet of pine board. Apparently they hadn't discovered plywood as a building material in St. Albans ca. 1898. Perhaps back then it was easier to find boards like this. Can't imagine doing so now.
|
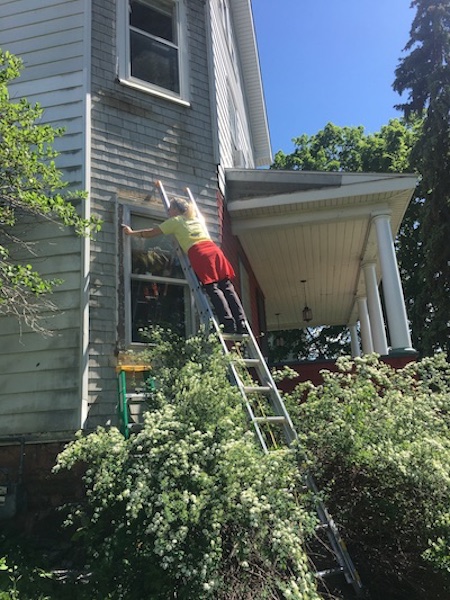
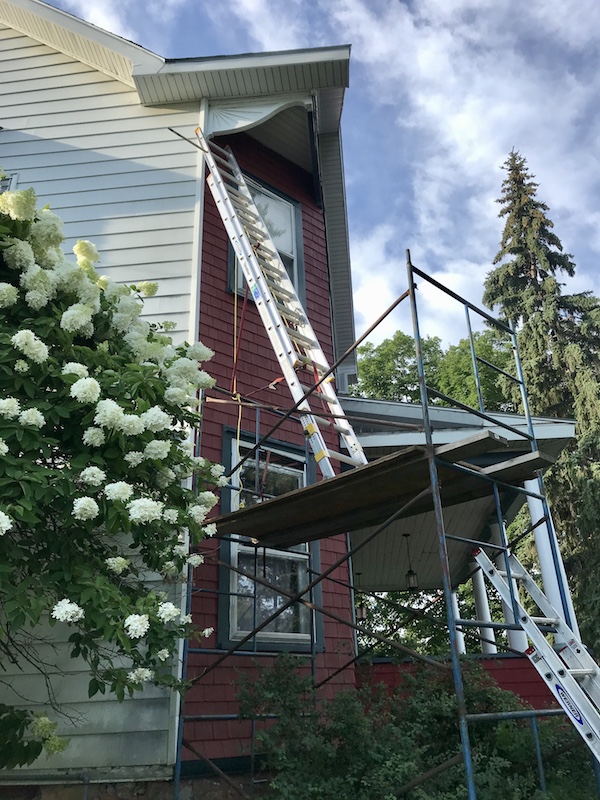
Fixing up the facade of the house meant finally giving attention to, what should have been, a really cool design element to our house. After weeks of contemplation I finally reached out to my dad who I seemed to remember owning his own staging. I drove down to pick it up one day and then set about putting it together. Due to the nature and slope of the front lawn I had blocking under 3 of the wheels AND had to set this up over a bush. It was not easy and made me feel better about not acting on this project until now.
It was amazing to finally be able to lay hands on the bracket. Of course, when I did, parts of it fell off in my hand. I was toying with the idea of recreating an entire new piece but as I chipped and scraped and sanded I realized that the only things needing replacing were some of the suns rays. They were hopelessly curled, shrunken and broken. I carefully removed them so that I could use them as templates and began work on the main part of the bracket. This included sanding, wood filling and two coats of exterior oil based primer. |
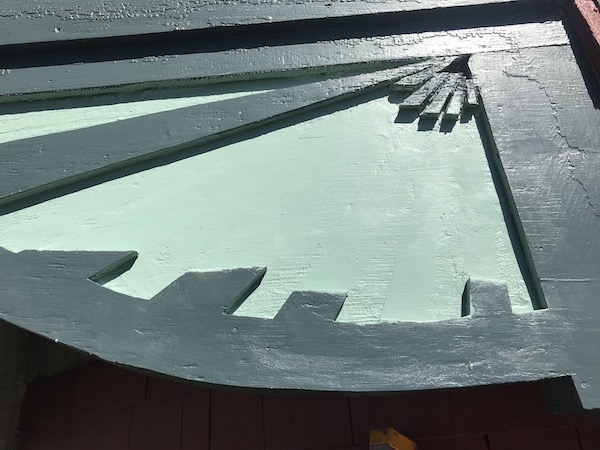
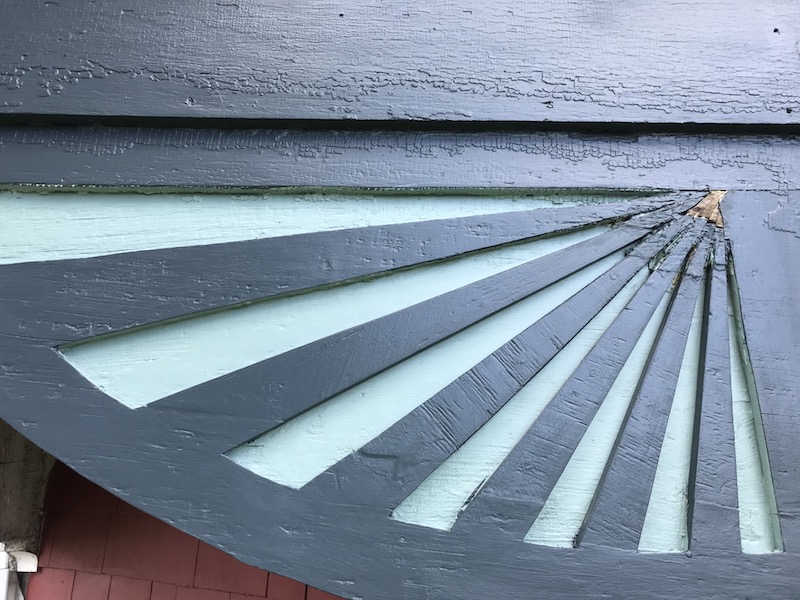
After the oil primer I applied a few coats of the latex.
It's easier to do the inside without the sun rays in the way.
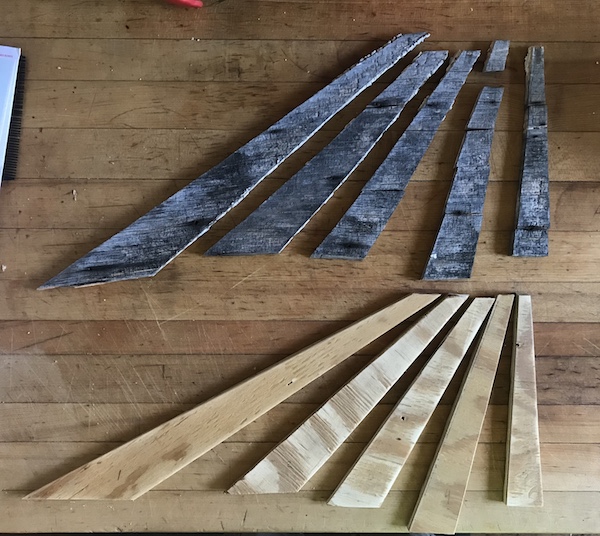
The original rays are above and the new ones are below.
It was many trips up the ladder as I tried to get these to fit perfectly.
Placing in the last salvaged pieces to check for fitment.
These were then installed with
wood glue, oil primer and then latex paint.
|
I cut the new pieces a little bigger and a little longer than the originals figuring I can always take off more but I can't add any on. I wanted to make sure these fit perfectly and knowing the amount of degrading, curling and shrinking that happened over the years I wanted to play it safe. That meant quite a few trips up the staging and ladder with a pencil to make marks in order to determine where to make cuts and how much to trim. All in all I think it came out pretty well and, from the ground, you really can't tell anything went on up there other than to notice that this exigent detail on my house had now gotten some long overdue attention. |

|
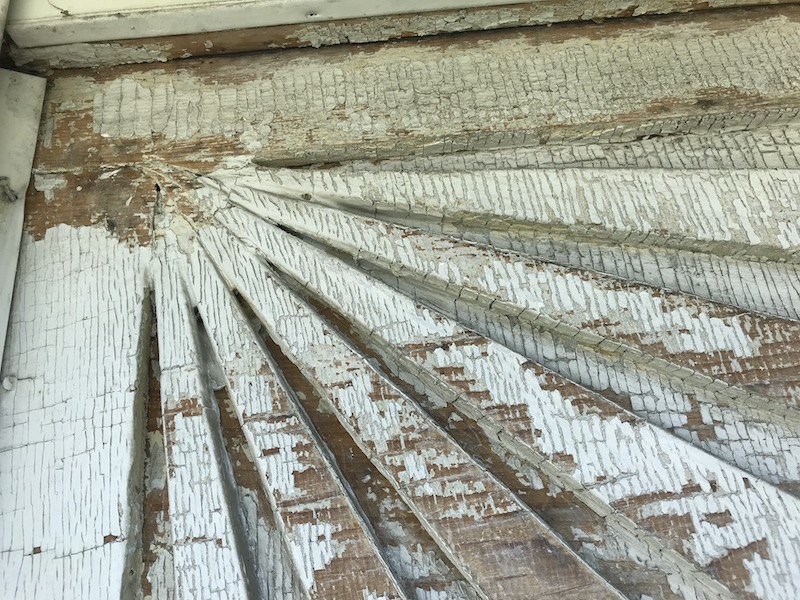
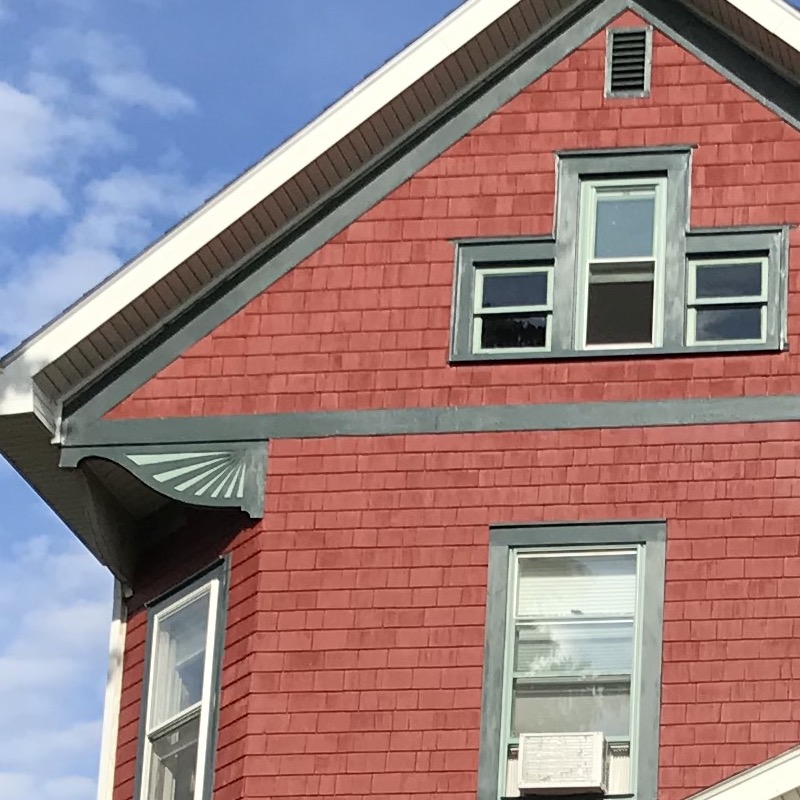
This first series shows that, while the lead paint may be very weathered, the bracket itself is in pretty
amazing shape given the equal neglect it received. The difference between this bracket and the west facing bracket is that this one gets no sunlight. Exposure to sun is the great wood killer.
|

|
I scraped this bracket down, the paint just about jumped off. It was a little trickier to get those spots in between the rays so I used a putty knife and an awl. The wood was still nice and tan. |
|
With heavily weathered wood still wearing its original lead paint it's important to get a layer of oil-based primer down. It's also pretty important to not get impatient, let that paint dry at least 24 hours before putting your latex color on. I really don't want to have to put staging together again just to get up here and repaint any time soon. I was quite happy to be able to leave the craftsman's work basically untouched. You can still clearly see the detail work, the skill and the patience, that went in to crafting this piece.
|
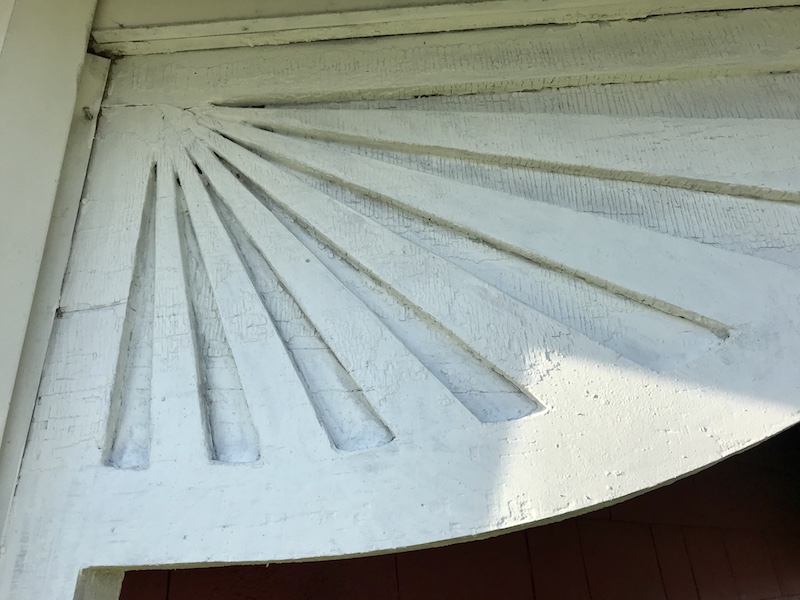
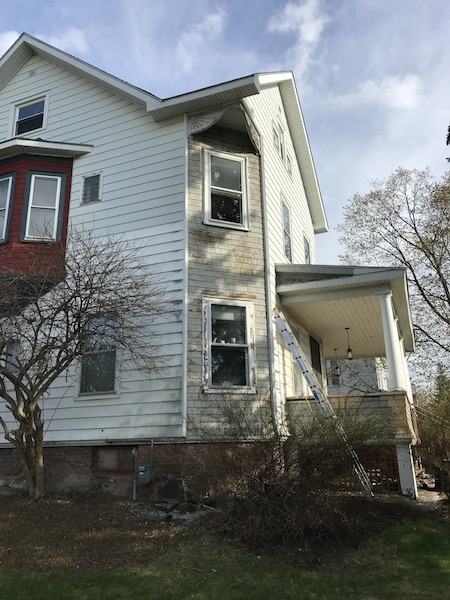
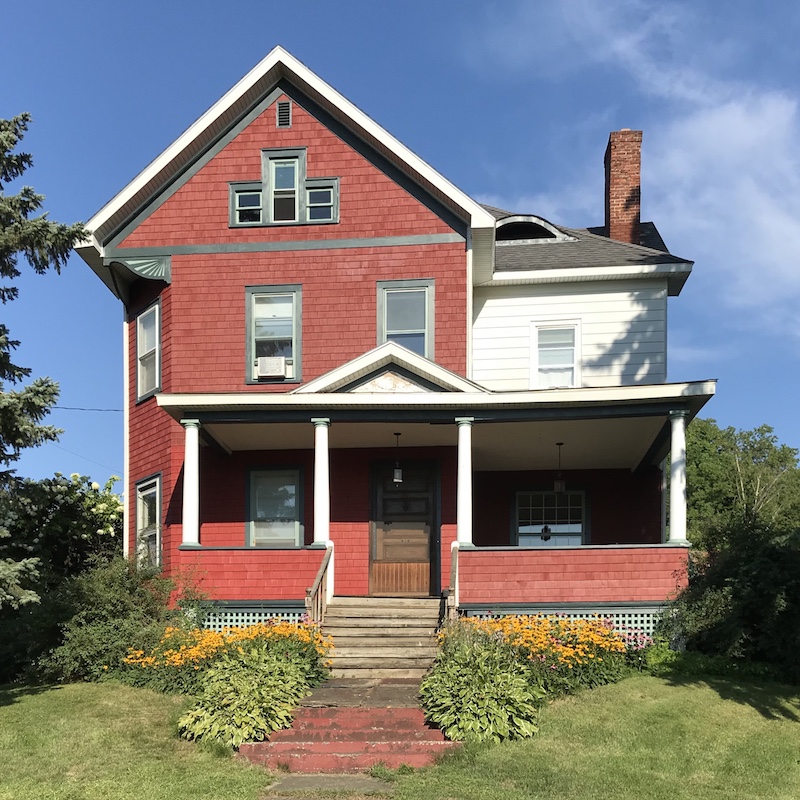
The North side is done! Now the twins are dressed alike.


|